So you have finally discovered that you need a home server for doing even the simplest network tasks these days, but don’t know where to start, Well then I can assist you with that. You probably don’t want to spend a fortune on buying a proper server but for simple home tasks or even running a few websites a decade-old computer would do. So let us begin!!

Things that you would need (…and probably have!):
- An old or even a new PC with at least 4 GB RAM along with a x64 process
- A stable internet connection with a dedicated ipv4 or ipv6 address (If you want to access the server outside of your local network trust me this is the most important!)
- Another computer/mobile to be able to access and manage the server.
- A flash drive of at least 8 GB. (This will be necessary for making an installer)
STEP 1 (This is the only hard part):
Now before we begin just backup all your old data as we will be wiping it off the face of the earth and the next few steps. Ok done that? Good! now let’s begin:
First, we have to make an important choice, choosing the correct os for our server. Now it’s not Windows, that sucker eats too much CPU and RAM by just existing. “So what are the alternatives?” you might ask, and I will say just one word “LINUX”. I mean it was built for lightweight stuff so why not use it? ehh? And by the way! Did I tell you that almost the entirety of the cloud market has Linux as its base operating system? So yeah Linux is the no-brainer, but some of you might ask “Uhh Which distro??” then you could choose any of the following or any other lightweight iso that you may like:
- Debian
- Ubuntu (based on Debian)
- Fedora Server
etc….etc….etc
Well, I will be using Debian 12 for demonstration. So let’s begin:
1 Download the iso image: In my case, I can grab a copy of Debian from the Debian download page. Make sure that you get the CD/DVD version with the complete installation image option.
2 Burn the iso onto a flash drive: Now to make an installer we will need to burn the iso we downloaded above onto the USB/flash/thumb drive. To do so simply download a copy of Balena Etcher from its website and then install it onto our pc.
Next up open Balena Etcher it should look like this:

Plug in the USB driver and click the Flash from file option, then choose the iso file we downloaded earlier and choose the USB drive in the select target option. The final setup should look somewhat like this:

Now click the flash button accept the warning and simply wait for it to finish.
3 Installing the operating system: Now take the USB drive to the “Server”/PC that you have and plug it into the computer.
Now to next step will be a little different for each person, you have to turn on the pc and then enter its boot menu by pressing a particular key. I have some of the motherboard’s boot keys listed below:

Now simply click your and get into your boot menu. After you are there just click on the name of your USB driver and the boot process will begin you will be presented with a menu that will look close to:

Now, click the graphical install option.

Choose your language of choice, in my case I will choose English. Then in the next menu choose your keyboard and hit continue.

Then you will be asked to enter the hostname for your new “SERVER”. Set it according to your need and hit continue.
Afterward, you will be asked for the password for the root account of your computer and the username and password for your main account.

After that, you will be asked to select the partition scheme for your server’s file system. You can choose any but in this tutorial, we will go with Option 1:

With that you will be asked to specify the install disk, just do so and then hit continue. Then in the next screen click the first option and again hit continue.

Next up click yes and continue and then the Debian install will start

During this, you will be asked several things so choose them according to your needs and then hit continue. I would greatly recommend you enable ssh when prompted as that will make our life oh so easy.
| If you would like an even more in-depth tutorial on installing Debian 12, you could read this |
STEP 2 (If you have completed the above this will be a cakewalk!!):
Sheeshh!! I know right, like that took so long, but no worries the next few steps are utterly straightforward. Now, it is finally time to set up a web UI for our ‘server’. There are multiple options to choose from:
| Webmin/Virtualmin/Usermin (freemium software used by most of the small scale industry) | This one is all for web hosting and database blob |
| Cloud Panel (This is all for minimalists and all. And of course it’s free!!) | This one is also all for web hosting and database |
| Cockpit (All for freemium redhat provided panel) | No website shit. Only for linux server management |
| etc………….etc………………..etc |
In this tutorial, we will be using CloudPanel as it is very easy and simple to set up and most of all IT FREAKING LOOKS GOOD.
For its installation, simply follow the steps written below:
1 Install prerequisites: We need to make sure that curl and sudo are up to date and installed.
apt update && apt -y upgrade && apt -y install curl wget sudo
2 Install CloudPanel: Now you have to choose if you want MariaDB or MySQL. Once chosen just run the following command:
For MariaDB
curl -sS https://installer.cloudpanel.io/ce/v2/install.sh -o install.sh; \
echo "2aefee646f988877a31198e0d84ed30e2ef7a454857b606608a1f0b8eb6ec6b6 install.sh" | \
sha256sum -c && sudo DB_ENGINE=MARIADB_10.11 bash install.sh
For MySQL:
curl -sS https://installer.cloudpanel.io/ce/v2/install.sh -o install.sh; \
echo "2aefee646f988877a31198e0d84ed30e2ef7a454857b606608a1f0b8eb6ec6b6 install.sh" | \
sha256sum -c && sudo bash install.sh
STEP 3 (WE ARE DONE!):
Now you can ssh into your PC and then check its public ipv4 for typing:
ip address
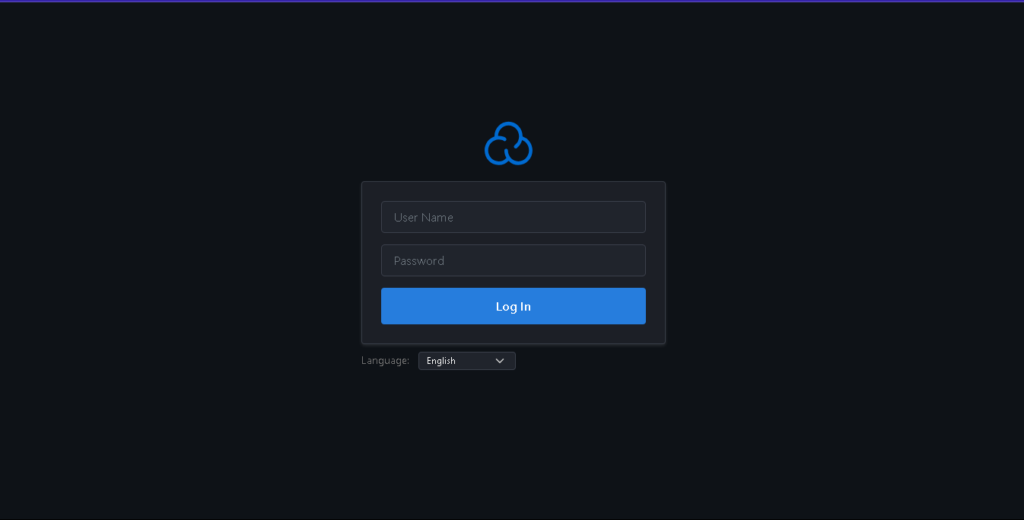
Then open the IP and viola you are in your cloudpanel!!

Now set your admin password and log in!
This brings our tutorial to an end and now you have a ‘Server’ and it even has a panel on the web which can be used to host as many websites as you can. Thank you for reading.
